 Skip to content
Let’s be honest—no one thinks about their dishwasher until it starts misbehaving. Maybe it leaves food bits stuck to the plates or leaks onto the floor right before dinner. At that point, you start wondering how to replace a dishwasher without flooding the kitchen.
It’s not rocket science, but it does involve wires, hoses, and patience. Most people can manage the basics; others prefer to hand it off to someone who does this every day. Either way, knowing the right steps makes the job a lot less stressful.
Signs It’s Time to Replace Your Dishwasher
- Water keeps showing up where it shouldn’t: A small puddle after one cycle might not seem serious, but if you’ve already fixed a leak and it returns, that’s usually a sign the inside parts are wearing out. Slow drainage or gurgling sounds from the sink can mean the same thing.
- The dishes just don’t look clean anymore: When you open the door and still find crumbs or cloudy spots, the wash system probably isn’t pushing water with enough force. Cleaning filters may help once or twice, but if it happens every week, the machine’s on its last leg.
- Strange noises or odd smells: A dishwasher should hum quietly. Grinding, knocking, or a faint burnt smell suggests the motor or bearings are wearing down. Those problems don’t fix themselves — and no amount of vinegar cleaning will change it.
- It’s past its prime: Most dishwashers last around eight to ten years. After that, they use more water and power, and parts get harder to find. Even if it still runs, a newer model will do the same job faster and more efficiently.
- Your bills keep creeping up: When an older unit starts using extra electricity or water just to finish a load, the extra cost adds up. A modern, energy-efficient model can lower those numbers right away.
- When to stop repairing: As a rule, if the repair cost is more than half the price of a new machine, it’s time to move on. A replacement will work better, run quieter, and usually comes with a warranty — meaning less worry for you.
Tools and Materials You’ll Need
Before getting started, grab the tools you’ll actually use. You’ll want an adjustable wrench for the fittings and a screwdriver set for the brackets and panels. Keep a towel or even an old baking tray close by; when you pull the hoses loose, water always shows up where you least expect it.
Have a bucket ready for the leftover water and a new dishwasher kit so you’re not missing any clips or hoses halfway through. A roll of plumber’s tape will keep leaks away, and a good pair of work gloves saves your hands from sharp metal edges. Gather everything first—trust me, running to the garage mid-job is no fun.
Safety First — Preparing for the Replacement
Alright, before you start messing with wires or water lines, just pull the plug. Seriously—unplug the dishwasher and shut off the water under the sink. It only takes a second and saves you from a nasty shock or a mini flood. Double-check that the valve’s tight and nobody turns it back on mid-job.
Now, flip the breaker connected to that circuit. Once the power’s off, disconnect the water hose and drain line slowly. Keep an old towel or tray nearby because there’s always some leftover water hiding inside. Wipe everything down and make sure the area’s dry—you’ll thank yourself when you’re sliding the new machine into place without slipping or shorting anything.

Step-by-Step – How to Replace a Dishwasher
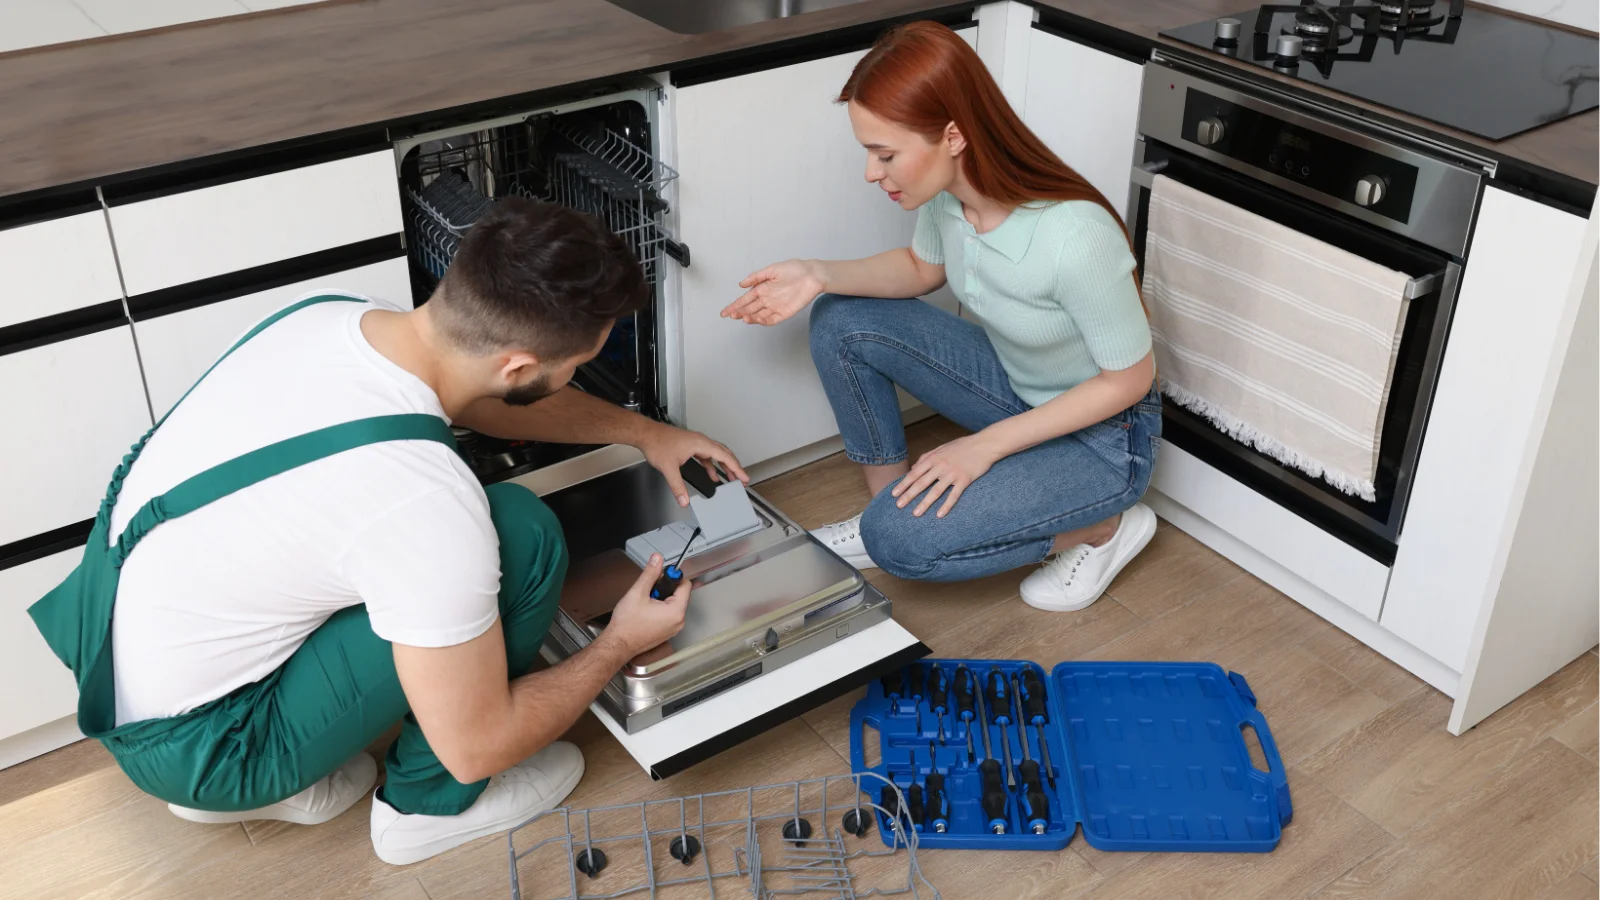
So, you’ve got a new dishwasher waiting in the box and no idea where to start? Don’t worry—you’re not alone. Learning how to replace a dishwasher isn’t complicated; it just takes patience and a bit of care. Let’s go step by step, the same way a home repair tech would walk you through it.
Step 1 – Remove the Old Dishwasher
Unplug the cord first, then loosen the screws that hold it under the counter. Once those are out, slide the old unit forward—slowly. There’s always a little water left inside, so keep a small pan or towel handy. Let it drain before you drag the unit completely out of the space.
Step 2 – Prep the Spot for the New One
Take a minute to clean the floor area and check for water spots or loose debris. It’s a good time to confirm that the outlet and water line are still in the right place. Small step, but it’ll save you trouble later when you start hooking everything up.
Step 3 – Hook Up the Water and Drain Lines
Connect the water line to the dishwasher’s inlet valve. Wrap the threads with plumber’s tape—just a little—to stop leaks. Then attach the drain hose to either the sink drain or garbage disposal and tighten the clamp. Give the hose a light pull to be sure it won’t pop off mid-cycle.
Step 4 – Set and Level the Dishwasher
Slide the new unit into place, checking that cords and hoses aren’t getting crushed behind it. Twist the front feet until the machine sits flat. Once it’s level, secure it to the underside of the countertop using the provided brackets.
Step 5 – Connect the Electrical Wires
Inside the access panel, match colors—black to black, white to white, and green for ground. Tighten each connector, then tuck the wires neatly before closing the panel. Make sure nothing’s pinched when you screw the cover back on.
Step 6 – Give It a Quick Test Run
Turn on the breaker and open the water valve. Run a short wash cycle while watching for drips under the unit. You should hear smooth water flow and no rattling. If it’s quiet and dry, congratulations—you just learned how to replace a dishwasher without calling for backup.
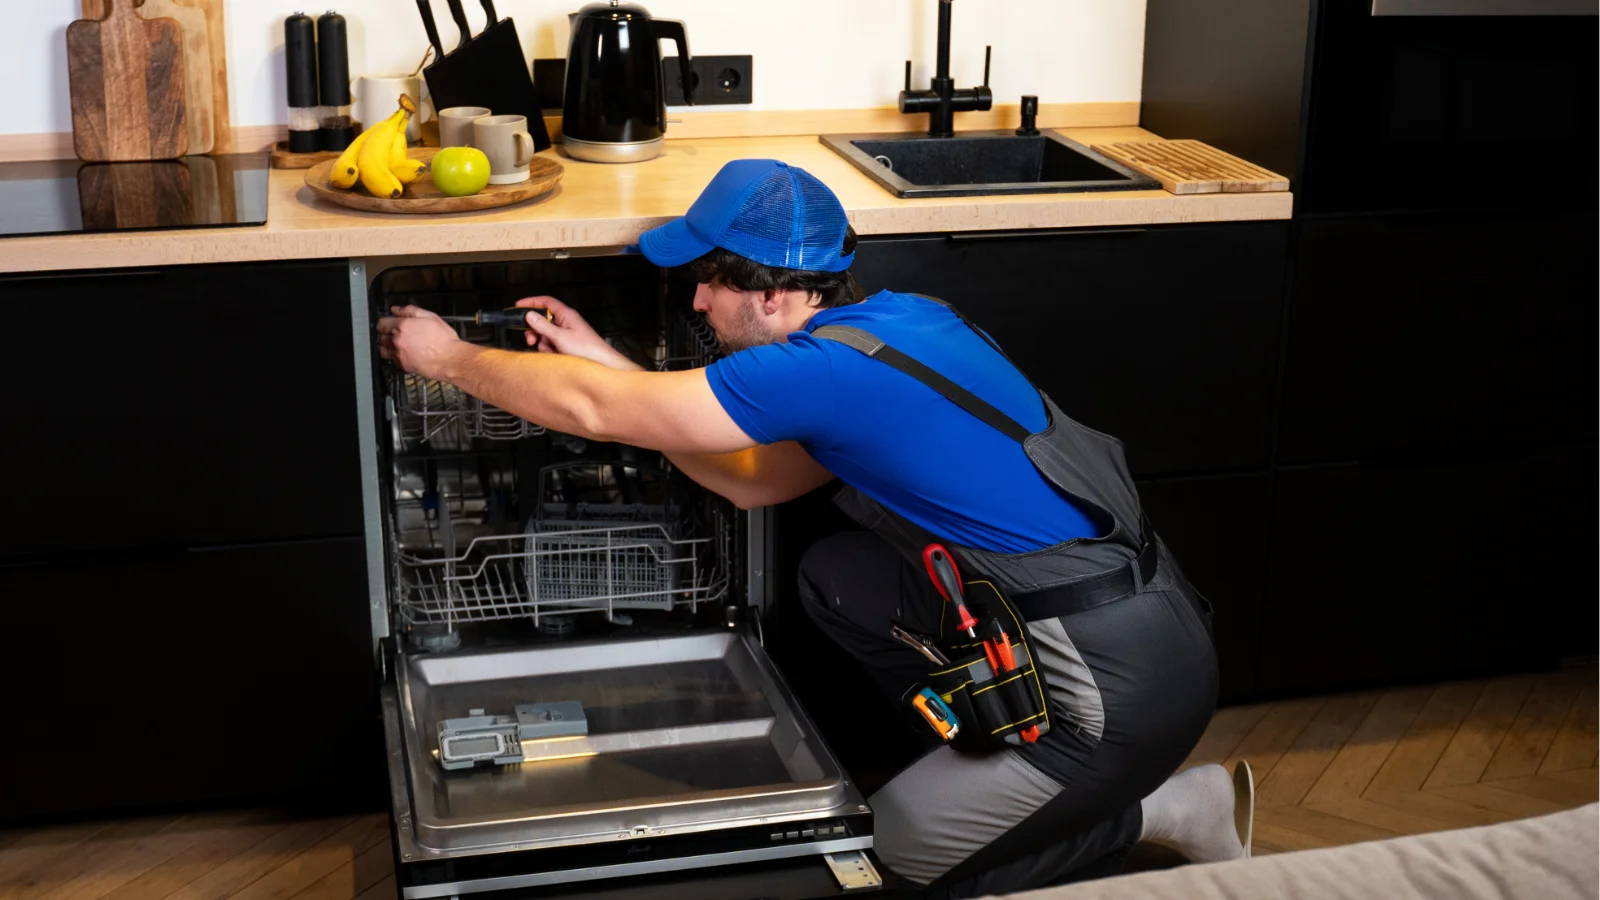
Benefits of Professional Dishwasher Installation
- Saves Time and Prevents Damage: Installing a dishwasher might look simple, but one wrong turn of a wrench can cause leaks or electrical issues. Professionals know the exact sequence to follow, saving you hours of frustration and preventing costly mistakes that could damage your kitchen or flooring.
- Ensures Code-Compliant Connections: A licensed installer makes sure all plumbing and electrical links meet local safety codes. That means no risky shortcuts, no loose wiring, and no future headaches when you remodel or sell your home.
- Extends the Appliance’s Life: A proper installation helps your dishwasher run the way the manufacturer intended. When everything—from leveling to hose alignment—is done right, the machine runs smoother, uses less energy, and lasts years longer.
- Comes with Warranty-Backed Service: Most brands require professional installation to keep the warranty valid. Hiring an expert gives you peace of mind that any factory warranty will stay intact, covering parts and labor if something goes wrong.
- Handled Start to Finish by Caspi Home Service: With Caspi Home Service, you don’t have to lift a finger. Their trained technicians manage every step—unpacking, installing, testing, and cleaning up afterward—so your dishwasher is ready to use the same day.
Conclusion
In the end, knowing how to replace a dishwasher is about more than saving a few bucks—it’s about doing it safely. But if you’re not totally sure about the wiring or the water lines, don’t take chances.
Let a pro handle it. You’ll get peace of mind and a dishwasher that runs perfectly. Go ahead—book your replacement service today at appliancedoctorpro and let the experts take it from here.
Frequently Asked Questions
How long does it take to replace a dishwasher?
Usually an hour, maybe two. Depends on how stubborn the old one is. Some come out easily, others feel glued in place. Take it slow — forcing it just leads to scratches or leaks later.
Do I need a plumber or an electrician for installation?
Nah, not always. A decent appliance guy or even a handy homeowner can hook it up fine. Just be sure the power’s off and the water’s shut off before touching anything.
Can I reuse the old dishwasher drain hose?
You can, but honestly, it’s not worth the risk. Old hoses gunk up inside and start smelling weird after a while. A new one costs little and saves you trouble later.
What should I check before installing the new one?
Look at the shut-off valve first. Spin it a few times to be sure it still works. Make sure the outlet’s grounded, and clear any junk from under the counter so the new dishwasher slides in without a fight.