
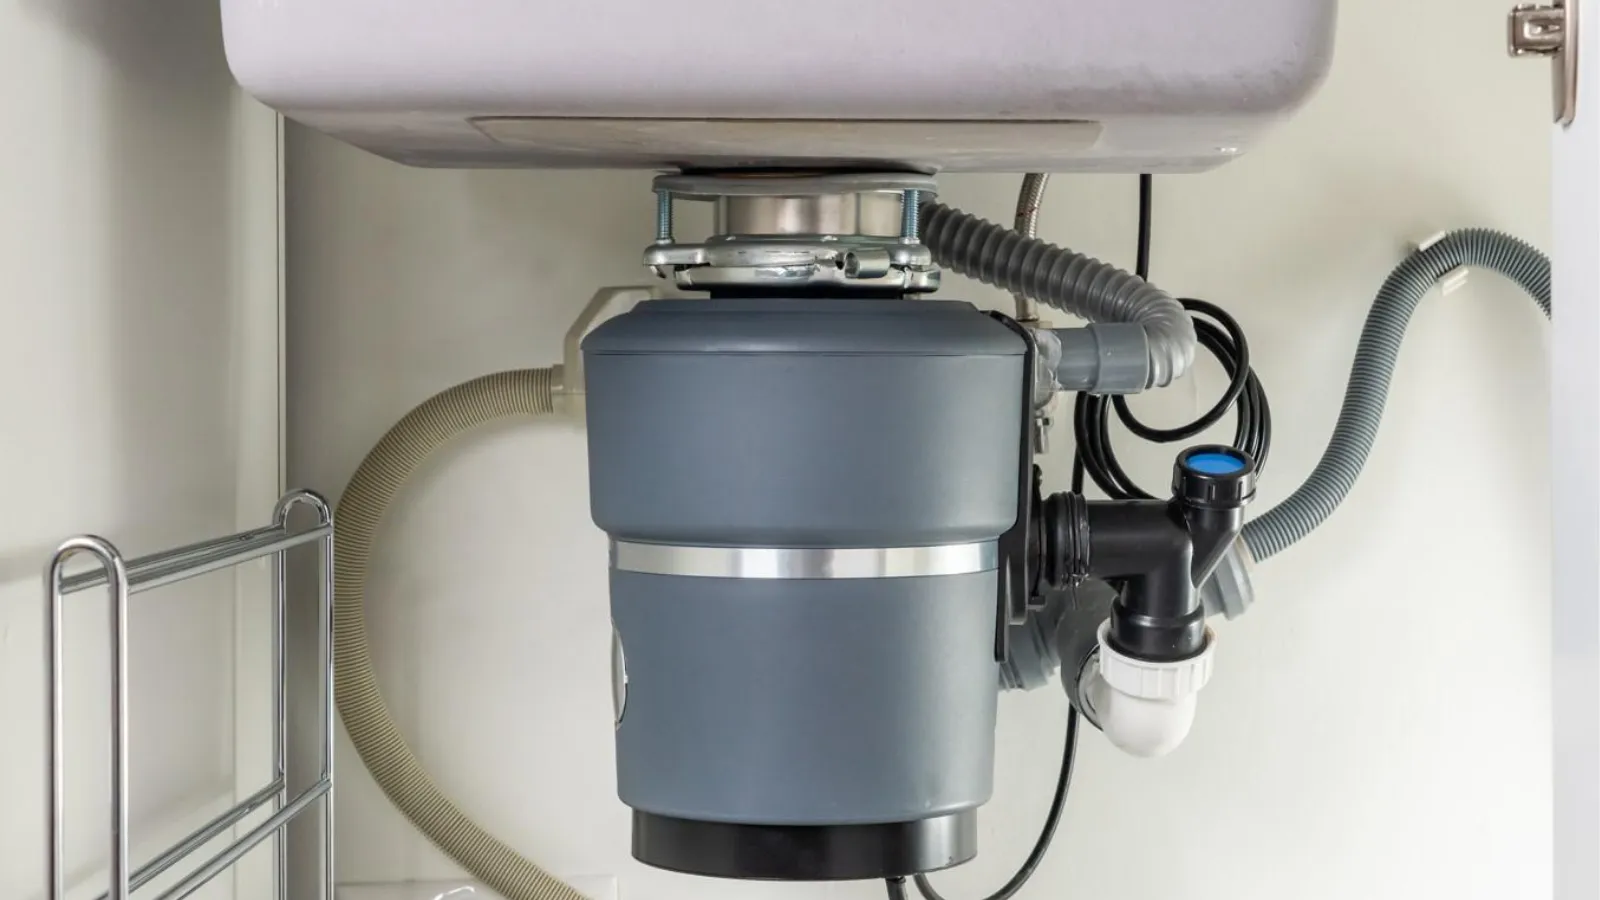
A garbage disposal keeps kitchen cleanup fast and tidy, but jams, clogs, or dead motors can bring your sink to a standstill. Learning how to fix garbage disposal issues gives you control over common breakdowns, prevents backups, and reduces stress during busy days. With a clear plan and safe steps, you can restore performance and protect your plumbing.
Disposals work hard every day, grinding scraps into tiny pieces that wash away. Over time, grease, fibrous peels, coffee grounds, and foreign objects can overwhelm the unit. You don’t need advanced tools to solve most problems. With safe prep, a flashlight, and patience, you can diagnose the issue, clear the obstruction, and get the kitchen flowing again
Safety Tips for Fixing Your Garbage Disposal
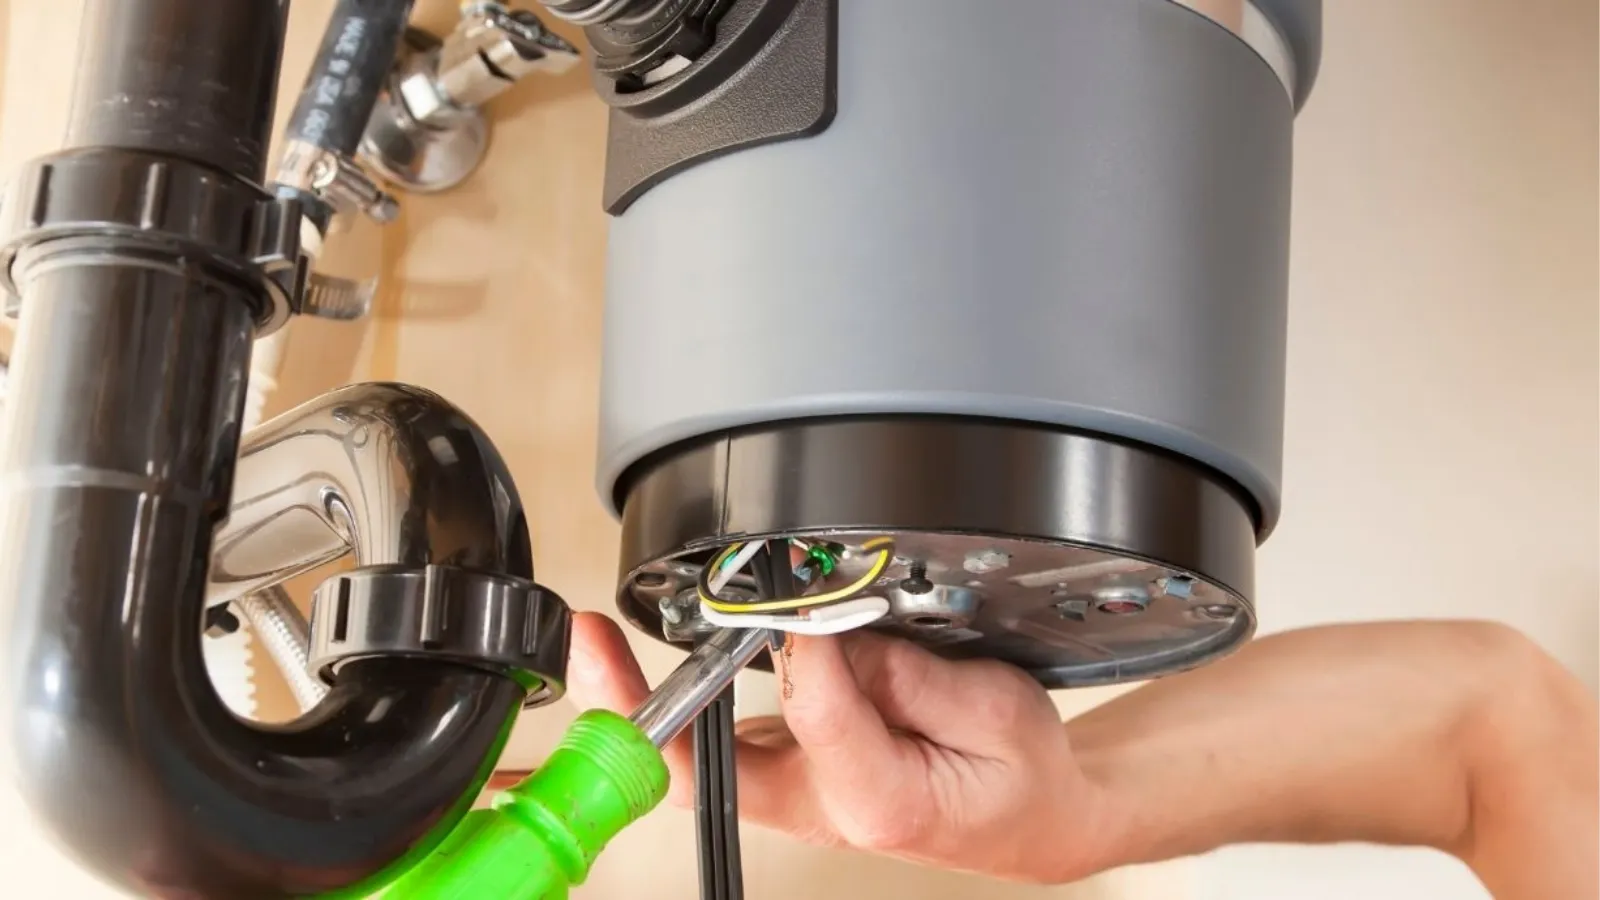
Cut power before any inspection or repair. Switch the wall control off, then unplug the unit under the sink or flip the breaker. This eliminates surprise starts and gives you peace of mind. Never place your hand inside the chamber; use tongs or pliers to remove visible debris. Working safely keeps quick fixes from turning into injuries.
Create room to work. Clear cleaners and stored items from the cabinet, place a towel and shallow pan under the trap, and keep a flashlight nearby. Confirm the reset button is accessible on the bottom of the disposal. Good setup makes the job smoother and prevents drips from spreading under your sink as you disconnect lines or reset the motor.
Step-by-Step Guide to Fix Garbage Disposal Jams
- Kill the power. Turn the switch off and unplug the unit or open the breaker.
- Check for obstructions. Shine a light and use pliers to remove bones, pits, or utensils.
- Free the flywheel. Insert a hex (Allen) wrench into the bottom socket and rotate both ways.
- Reset the overload. Press the red reset button on the underside until it clicks.
- Flush and test. Run cold water, restore power, and turn the switch on; listen for steady grinding.
- Repeat as needed. If you hear only a hum, cut power again, rotate the wrench, and retest.
- Inspect the splash guard. Remove and scrub it; trapped waste often causes noise and odor.
- Finish with a clean. Grind ice and coarse salt for thirty seconds, then rinse thoroughly.
Dealing with Garbage Disposal Drain Clogs
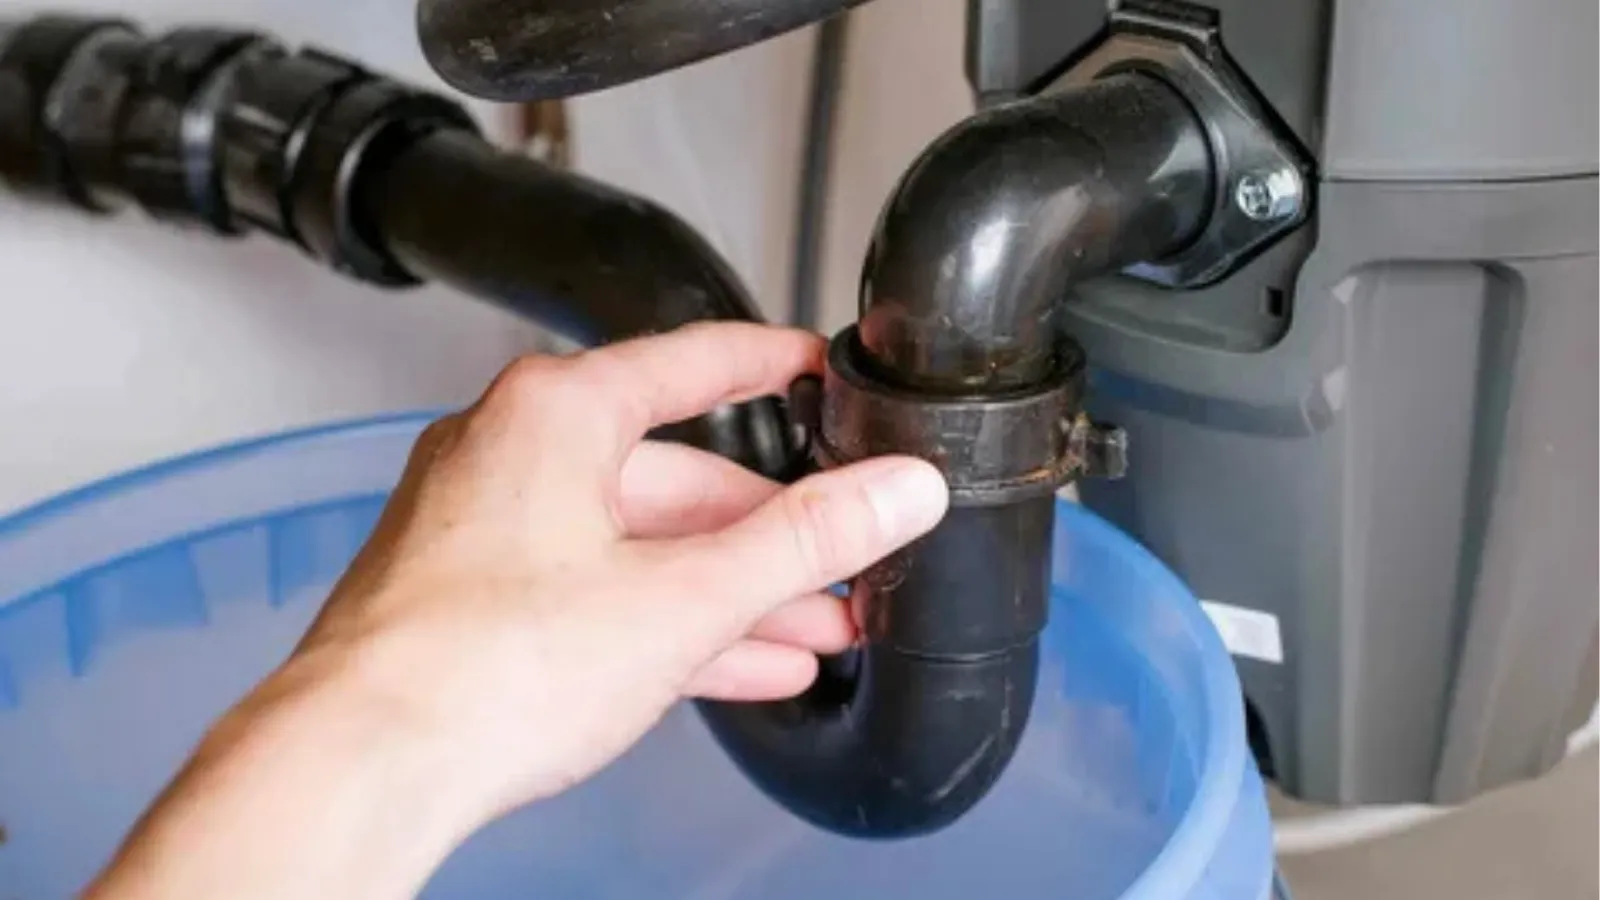
Standing water often points to a blocked trap or branch line, not just the disposal. Place a tray beneath the P-trap, loosen the slip nuts, and remove the curved section. Clear sludge by hand, rinse the trap with warm water, and reassemble. Run the faucet to verify flow before testing the unit. A clear trap restores drainage immediately.
Skip harsh chemicals; they corrode metal, damage seals, and create fumes. For safe degreasing, pour half a cup of baking soda into the drain, follow with a cup of vinegar, and let it foam. After ten minutes, flush with cold water. If the blockage persists, plunge the sink with a dedicated kitchen plunger to move the mass through the line.
Troubleshooting Garbage Disposal Power Issues
Silence usually means a power fault. Confirm the plug is seated, test the outlet with another device, and reset the GFCI if present. If the outlet works, check your home’s breaker panel and restore the circuit. Press the reset button on the bottom of the disposal; overheated motors trip to protect themselves during jams or prolonged loads.
If the reset button trips again after a short run, the motor may be failing, bearings could be seizing, or internal windings might be compromised. Don’t keep cycling a failing unit; overheating can shorten its life further. At this point, a technician can test amperage draw, evaluate seals, and confirm whether repair or replacement delivers the better value.
Removing Bad Garbage Disposal Smells
Odors come from trapped particles below the splash guard and along the grind ring. Lift the guard out and scrub both sides with dish soap and a brush. With power off, use a long-handled brush to clean the upper chamber. Restore power, then grind ice with coarse salt; the abrasion scours surfaces and leaves the ring cleaner and quieter.
Neutralize lingering smells with baking soda and vinegar, then finish with citrus peels for a fresh scent. Avoid bleach; it can harden residue and degrade rubber components over time. Regular deodorizing keeps your sink pleasant and signals when deeper cleaning is overdue. A clean chamber also reduces flywheel drag and helps the motor spin freely under load.
Preventive Maintenance to Avoid Garbage Disposal Problems
- Run cold water during grinding and for ten seconds afterward to flush particles.
- Keep grease, oils, and fatty sauces out of the drain; they congeal and choke traps.
- Skip fibrous peels (celery, corn husks, onion skins) that wrap the grind ring and stall the wheel.
- Avoid large starch loads like pasta or rice; they swell and clog the line.
- Clean monthly with ice and coarse salt; follow with a baking soda–vinegar rinse.
- Pull and scrub the splash guard; residue there is the usual odor source.
- If the unit stalls, press the reset button after clearing the jam—don’t force it.
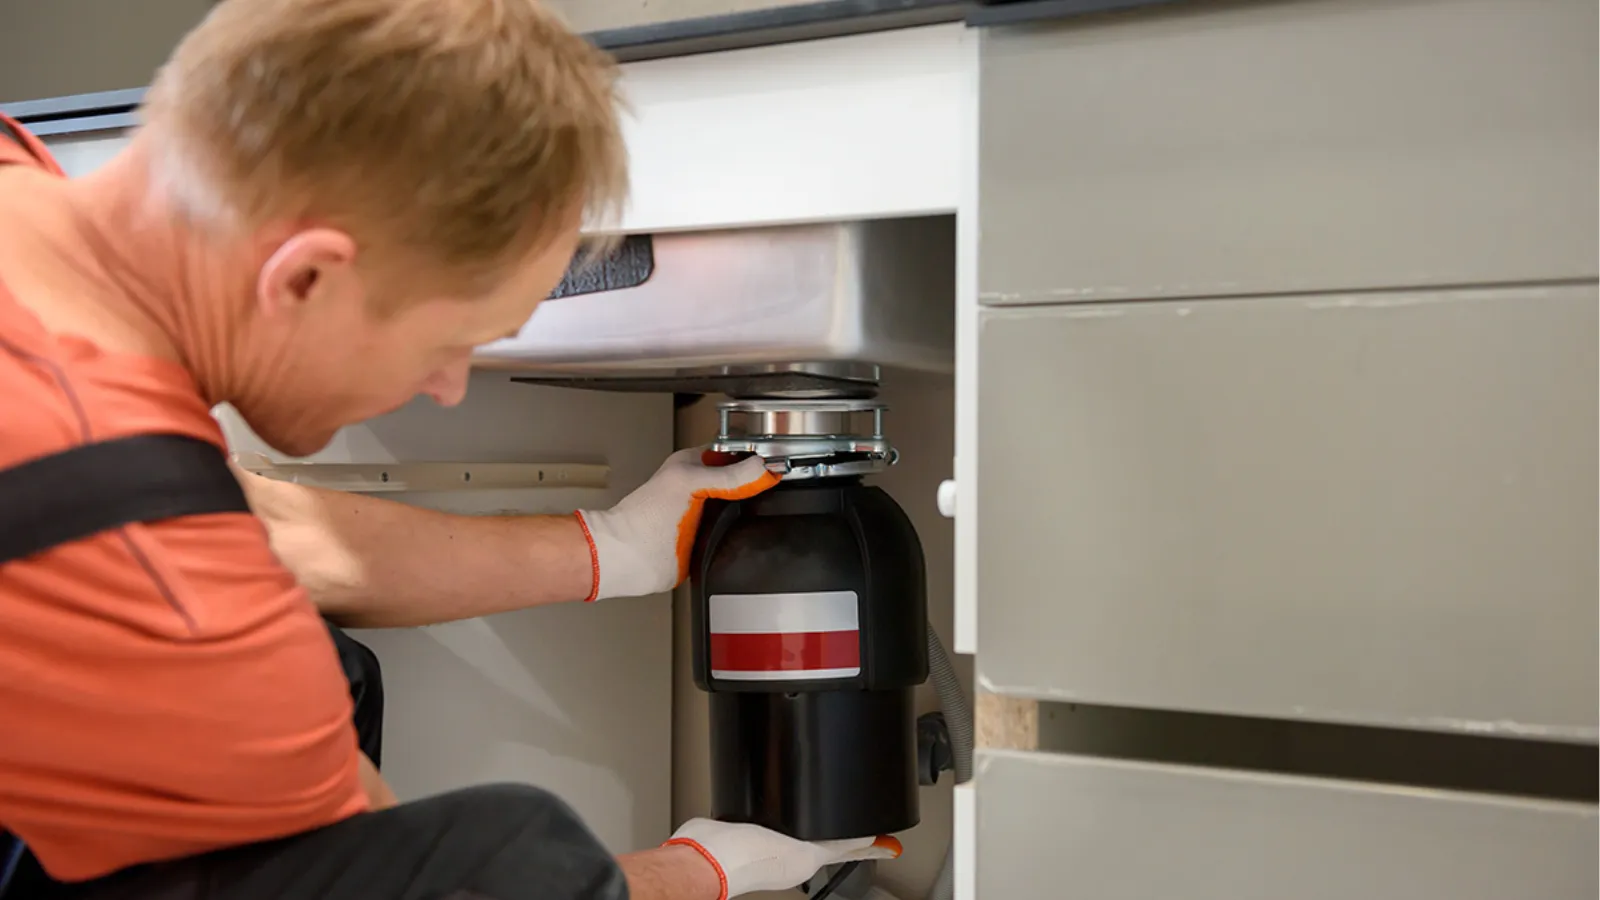
When to Call a Professional for Garbage Disposal Repair
DIY covers many clogs and simple jams, but some symptoms require trained help. Leaks from the body usually indicate failed internal seals or cracks—repairs rarely outlast the replacement cost. Electrical smells, repeated overload trips, and metal-on-metal grinding point to a failing motor or damaged bearings that can’t be revived with resets and rinses.
Professional technicians carry test meters, gaskets, and replacement fittings to prevent repeat leaks and callbacks. They’ll check mounting assemblies, discharge tubes, and dishwasher knockout plugs for alignment. A pro can also advise on horsepower upgrades, noise reduction, and stainless components that resist corrosion. Fast, correct work protects cabinets, flooring, and plumbing from hidden water damage.
Local, Fast Help for Kitchen Efficiency
Knowing how to fix garbage disposal problems covers many small emergencies, but don’t let a stubborn leak or failing motor disrupt meals. Skilled diagnosis avoids guesswork and protects your cabinets. If your unit hums without spinning, trips repeatedly, or drips from the housing, move quickly. Addressing the root cause prevents downstream clogs and damage.
For trusted repair and installation, book service with Appliance Doctor Pro. Our technicians serve homeowners across Pennsylvania, North Carolina, and Florida, bringing reliable parts, clean workmanship, and friendly guidance. Whether you need a precise fix or a quiet, efficient upgrade, we’ll restore smooth kitchen cleanup. Visit appliancedoctorpro.com/ to schedule convenient, local help today.
Conclusion
A simple, safe routine—and a clear plan for jams, clogs, and resets—keeps your sink dependable. Mastering how to fix garbage disposal issues saves time, reduces stress, and protects your home’s plumbing. When problems go beyond quick fixes, local pros make fast work of repairs and upgrades so your kitchen stays clean, quiet, and efficient.
FAQs About Fixing a Garbage Disposal
What does it mean if the disposal only hums?
A hum usually signals a jammed flywheel. Cut power, remove visible debris with pliers, rotate the bottom hex socket with an Allen wrench to free the wheel, restore power, press reset, then test with cold water.
Is hot or cold water better during grinding?
Use cold water. It keeps fats solid so they flush out instead of melting and coating pipe walls. After grinding, keep water running briefly to clear fine particles through the trap.
Can I use chemical drain cleaners in the disposal?
Avoid them. Caustics corrode metal, weaken seals, and create fumes. Use baking soda followed by vinegar, then flush with cold water. If needed, plunge or open the trap to remove the blockage.
How long should a disposal last before replacement?
Many units last eight to twelve years with good habits. Persistent leaks, frequent stalls, loud grinding, or repeat overload trips after resets suggest internal wear—replacement is usually the smarter, more reliable move.