 Skip to content
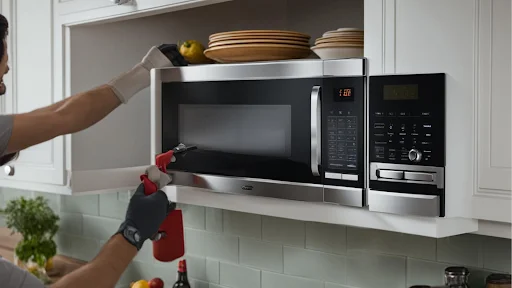
The question that many house owners pose is how to how to vent microwave outside to minimize smoke, steam, and odors during cooking. Adequate ventilation will ensure that your kitchen is well-ventilated and that your microwave will last longer.
However, venting does not just consist of connecting a duct; it must also be given attention to its appropriate positioning and sound construction to ensure that it does not damage the walls or electrical wiring.
When you are intending to install your over-the-range microwave or when you are intending to upgrade your kitchen, this guide is the basis. Find out how microwave professional personnel maintain safe air circulation and how dangerous electrical or ventilating concerns are avoided at high expense.
Why Venting a Microwave Outside Is Important
Microwave generates heat, steam, and cooking fumes that have to get out. And in the absence of adequate venting, that hot, stifling moisture remains in your kitchen. This will eventually make the walls sticky, the odors will not be removed, and even the moisture damage. Putting your microwave outside also ensures that your microwave has an easier time cooling down, as well as keeping the air in your home fresher.
The majority of the contemporary models have the possibility to vent either to the interior of the room or via an outer duct. Outdoor venting is preferable at all times to eliminate all the heat and moisture. Knowing the tips on how to vent microwave outside will help keep your kitchen tidy and your appliance performing without stress or heating up.
Can You Vent a Microwave Outside?
Yep, most of the over-the-range (OTR) and built-in microwaves can be discharged to the outdoors. But this is relative to the model, and your kitchen walls are constructed. Some microwaves vent air through top or rear ducts, while others simply recirculate it using built-in filters. To be on the safe side, a technician with microwave exhaust vent training must never do any activities such as drilling or wiring.
Pros of outdoor venting:
- Eliminates smoke, grease, and odors.
- Minimizes the heat accumulation around cabinets.
- Enhances the functionality and longevity of appliances.
Cons:
- Needs modification of the wall or cabinets.
- May entail duct cutting and ventilator sealing.
Essential Tools and Materials for Venting
When you are asking yourself what you will need to do the job, the following are the most frequently used materials for microwave exhaust vent installation. You need not take care of these yourself, but being aware of them will enable you to be better aware of the process. These allow a technician to put ducts in place, seal on gaps and test the airflow, and then secure the vent in place.
- Microwave exhaust vent kit
- Metal ducting and vent duct adapter.
- Measuring tape and level
- Wall cap and exterior vent cover.
- Screws, sealant, and screwdriver.
- Goggles and protective gloves.
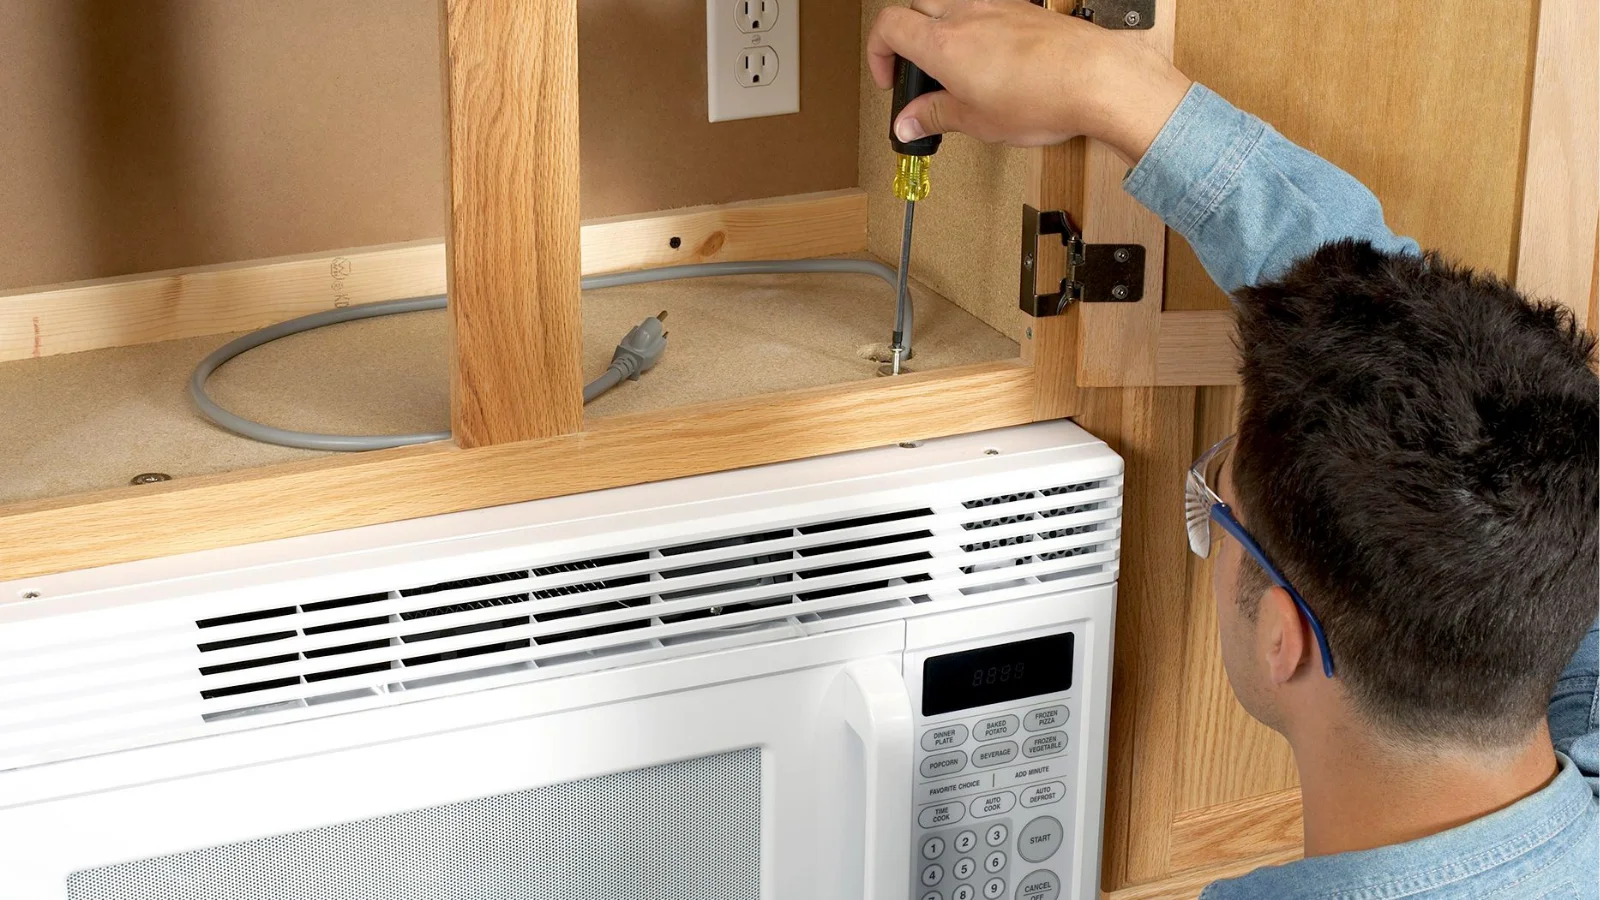
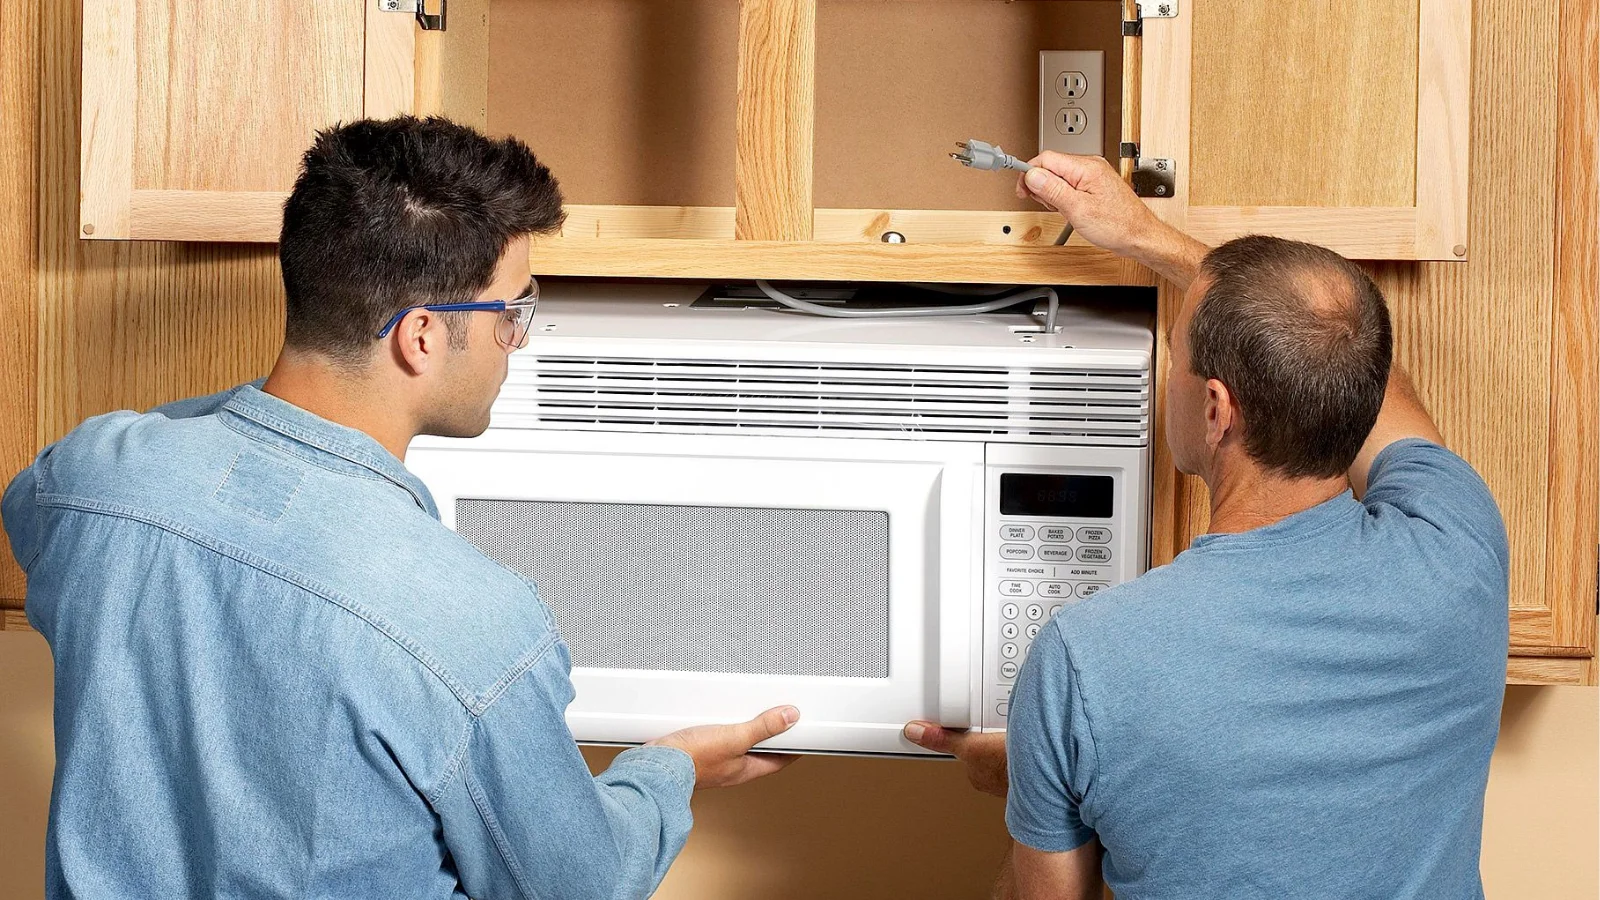
Basic Steps for How to Vent Microwave Outside
Venting may seem easy, yet it has precision in it. This is the process that occurs with a professional setup:
- Measurement and planning: The technician inspects the wall, ceiling, or cabinet of duct openings and wiring.
- Duct cutting: The vent route is cut carefully in a place where pipes or studs are not found.
- Installation: The ducting and exhaust adapter are installed in a tight manner to avoid leakages.
- Sealing: There are sealed joints, and an outer wall cap is fitted to allow air to flow.
- Testing: The microwave is switched o,n and the air release is tested to be alright on the outside.
Lack of experience when trying such steps may lead to electrical hazards or ineffective sealing. This is the reason why professionals make venturing safe and lasting.
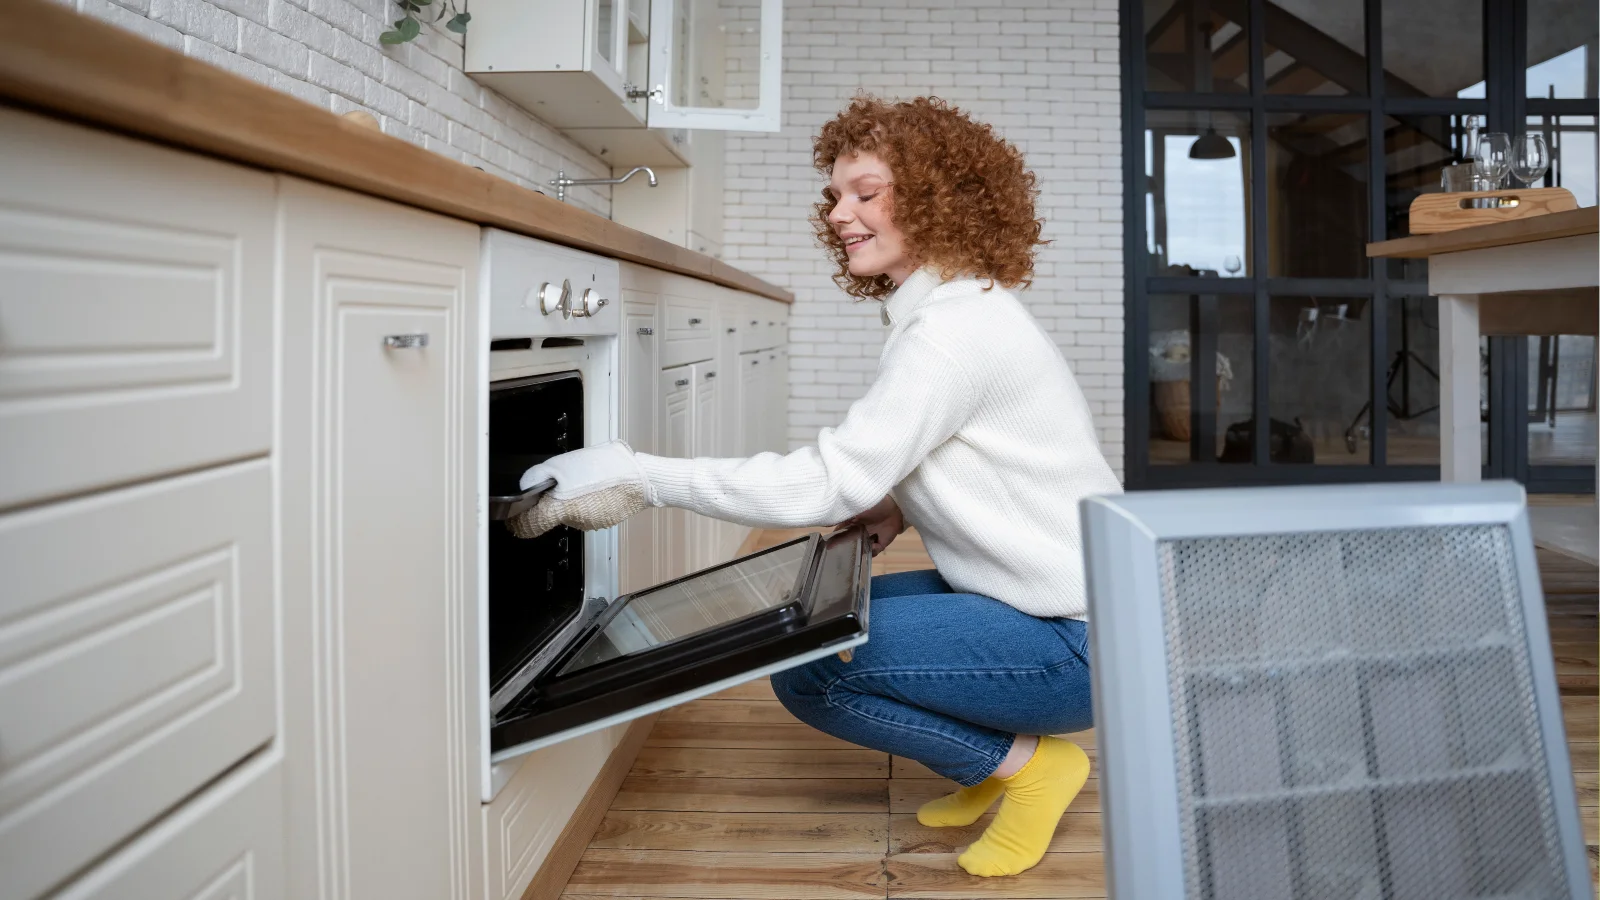
How to Tell If Your Microwave Is Already Vented Outside.
In case of doubt, a brief check-up by a professional will verify that your microwave vents properly and does not stuff or spill air.
You have no idea whether your microwave vents outside? You can check easily.
- When it is on, put your hand over the top or back vent grille. In case it blows out of the house, it is externally vented.
- When you can feel air blowing back into the kitchen, then it is recirculating.
- Another thing to look for on the outside wall is an exterior vent cover or duct on the back of your microwave.
Common Mistakes to Avoid When Venting a Microwave
Here are common errors homeowners make when attempting DIY venting:
- Using flexible ducting instead of rigid metal pipes
- Creating long or twisted vent runs that reduce airflow
- Forgetting to seal joints properly
- Blocking airflow with insulation or debris
- Installing ducts too close to electric lines
Each of these mistakes reduces performance or poses safety hazards. Instead of guessing, a trained technician can perform safe microwave exhaust vent installation using proper materials and correct clearances.
Smart and Safe Installation Tips
A few habits can make your system run without problems:
- Ensure that there is a free flow of air around your microwave.
- You should not use thin plastic ducts or materials with little strength.
- Wash filters with grease to allow air to pass.
- Arrange an annual vent cleaning check.
The availability of the appropriate microwave venting options guarantees acceptable air circulation, reduced odor in the kitchen, and increased life of the appliances. Vent paths are experimented with by professionals to achieve safety and silent operation.
Why Professional Vent Installation Matters
Installing or modifying a microwave vent involves electricity, duct cutting, and sealing — tasks that need skill and the right tools. Even a small gap in the duct can cause moisture leaks or airflow loss. Professionals prevent these issues and make sure your vent meets safety standards.
Appliance Doctor Pro offers expert technicians who handle microwave exhaust vent installation and repairs with precision. From diagnosing poor airflow to upgrading vent systems, they make sure your appliance works efficiently and your kitchen stays safe from smoke or heat buildup.
Conclusion
Now you understand the basics of how to vent microwave outside and why proper airflow is so important. While the idea seems simple, safe installation demands accuracy and knowledge of ducts, walls, and electrical safety. Instead of risking DIY mistakes, professional technicians can set up or repair your vent the right way — keeping your kitchen air fresh, your appliance efficient, and your home safe.
Frequently Asked Questions
Can you vent a microwave outside yourself?
You can, but it’s not recommended. Improper installation can lead to leaks, wall damage, or wiring issues. It’s safer to let a qualified technician handle it.
How do I know if my microwave is vented outside?
Check the back or top of your microwave for air direction. If air exits outside, it’s vented externally. Otherwise, it recirculates through filters.
What tools are needed to vent a microwave?
A vent kit, duct adapter, wall cap, screws, and sealant are commonly used. Professionals have the right tools to handle this safely.
Can you vent a microwave on an interior wall?
Yes, but it requires special ducting and precision. A professional can design the best vent route without harming your wall structure.