 Skip to content
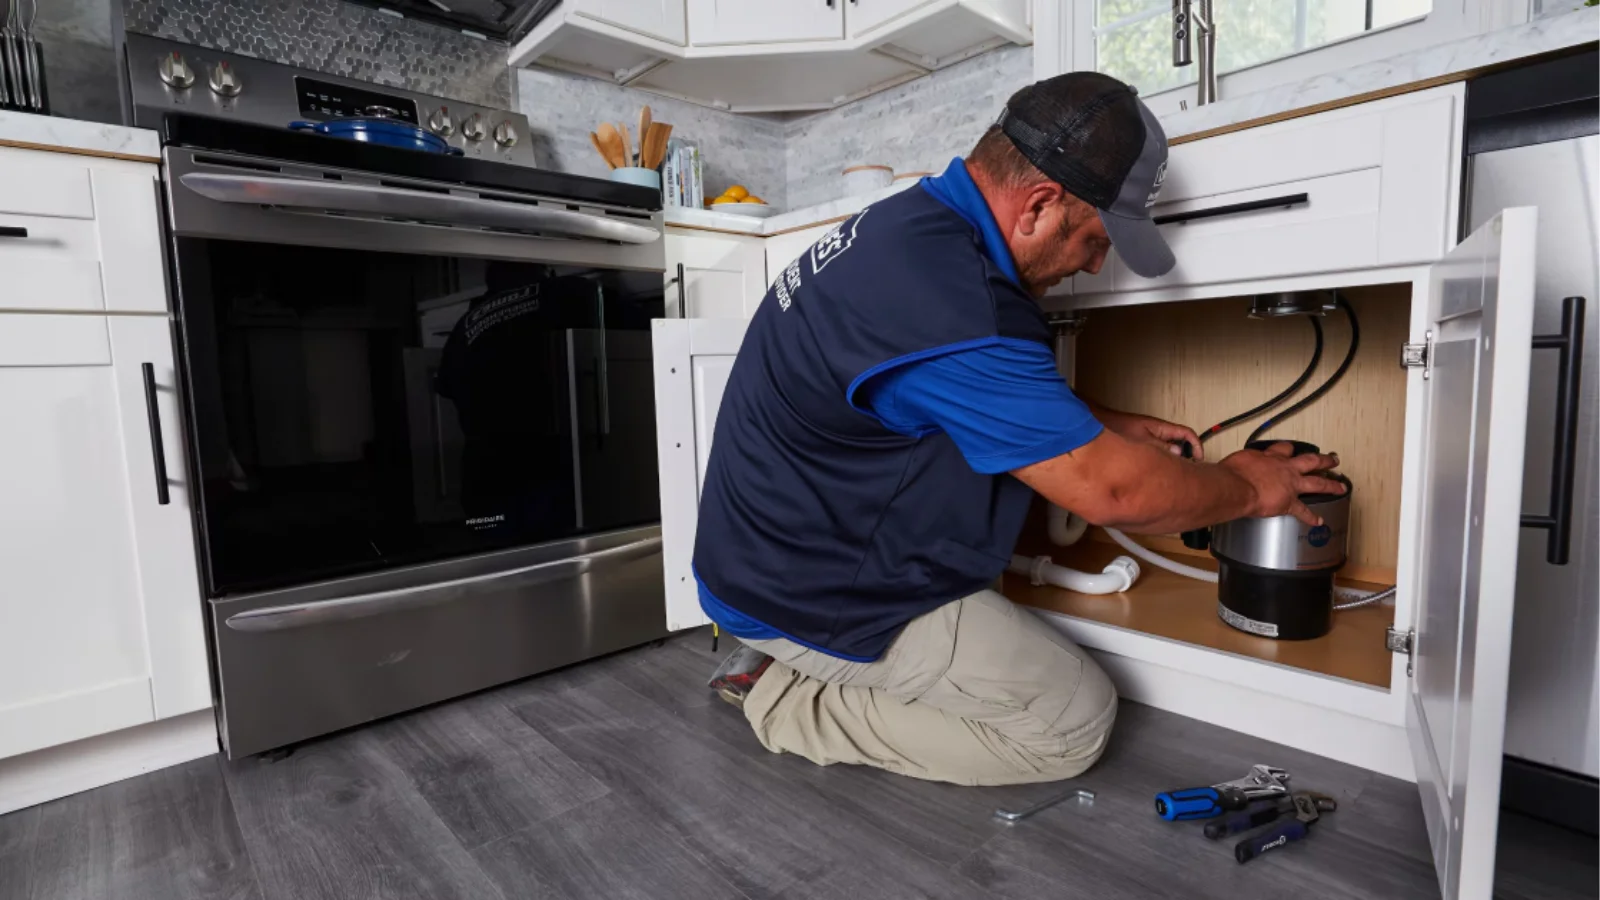
A garbage disposal makes kitchen life easier. It grinds food waste quickly, keeping drains clear and reducing bad odors. Installing one yourself saves money, but only if done carefully. With proper steps, safe handling, and the right tools, you can complete the job without stress. This guide explains how to install a garbage disposal simply and clearly.
Why Add a Garbage Disposal to Your Kitchen?
A garbage disposal offers more than convenience. It reduces food waste, lowers trash volume, and helps keep your sink cleaner. With fewer scraps in bins, kitchens stay fresher and attract fewer pests.
It also protects your plumbing. By grinding scraps before they enter drains, the unit prevents clogs. This means fewer calls to plumbers and smoother water flow every day.
Getting Ready for Installation Day
Before you begin, clear out the space under the sink. Remove cleaning supplies, bins, or anything blocking access. A clean area makes the job easier and safer.
Next, switch off the electricity to the kitchen outlet. Turn off the water supply at the shut-off valve. Place a bucket or towel under the sink to catch any water or debris while working.
Tools and Parts Checklist
Gather all items before starting. You’ll need a wrench, screwdriver, pliers, and plumber’s putty. Wire connectors and a flashlight also help. Wearing gloves and goggles protects your hands and eyes during the work.
You also need the right parts. A garbage disposal unit, mounting kit, discharge pipe, and rubber gaskets are essential. Having everything ready saves time and avoids rushing mid-installation.
How to Install a Garbage Disposal
Installing a garbage disposal takes patience and care. Each step builds on the last, so following the right order matters. With the right tools and preparation, the process becomes easier and safer.
Take Out the Old Drain and Mount
Remove the drain assembly from your sink. Loosen the nuts and lift out the flange. Scrape away any old putty or sealant. A clean surface ensures the new mount fits correctly. Always check that the sink hole is dry before adding the new parts. Wipe away dust or debris for better sealing.
Apply Putty and Secure the Sink Flange
Roll plumber’s putty into a thin rope. Place it under the new flange and press it into the drain hole. Tighten the mounting assembly from beneath until snug. This creates a watertight seal. Remove extra putty squeezed out around the edge for a neat finish. Allow a few minutes for the seal to settle.
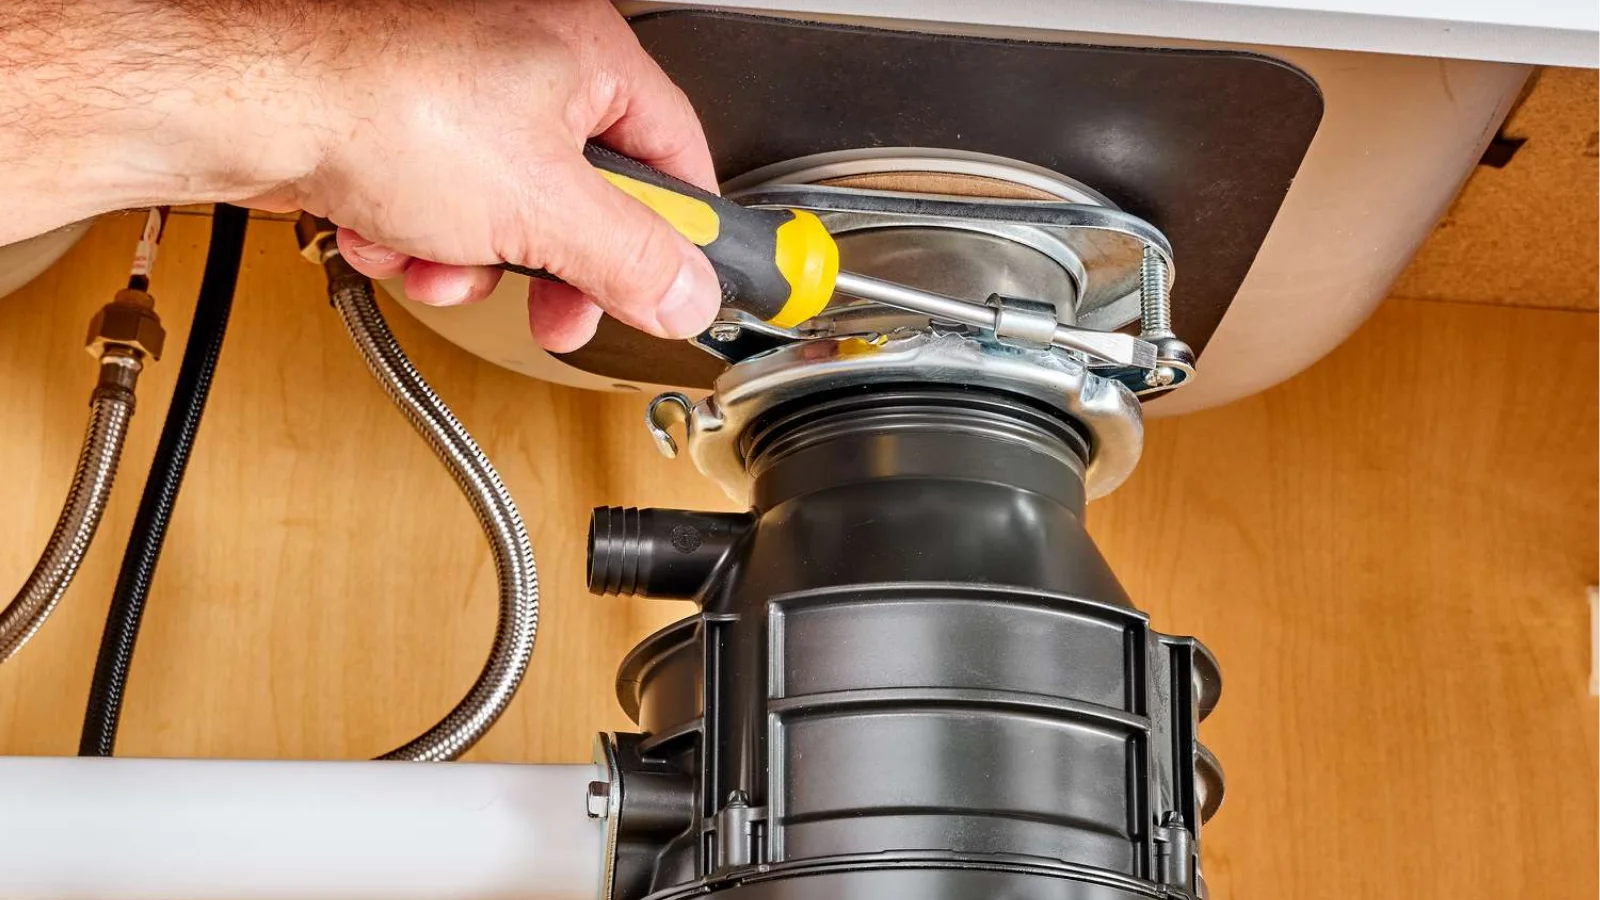
Fix the Mounting Ring and Brackets
Attach the mounting ring and brackets under the sink. Tighten screws evenly so the ring sits flat. This holds the disposal unit securely. Double-check that all screws are firm and level. Uneven tightening can cause leaks or movement later.
Connect the Garbage Disposal Unit
Lift the unit and align it with the mounting ring. Twist it into place until it locks. Ensure it hangs straight. Ask for help if the unit feels heavy, as holding it alone may be unsafe. Make sure the locking tabs click fully into place for stability. Test by gently moving the unit to check security.
Hook Up the Dishwasher Inlet (if applicable)
If your dishwasher connects to the disposal, attach its hose now. Remove the inlet plug inside the disposal first. Slide the hose over the inlet and secure with a clamp. Use pliers to tighten the clamp evenly. Check for hose cracks to avoid leaks later.
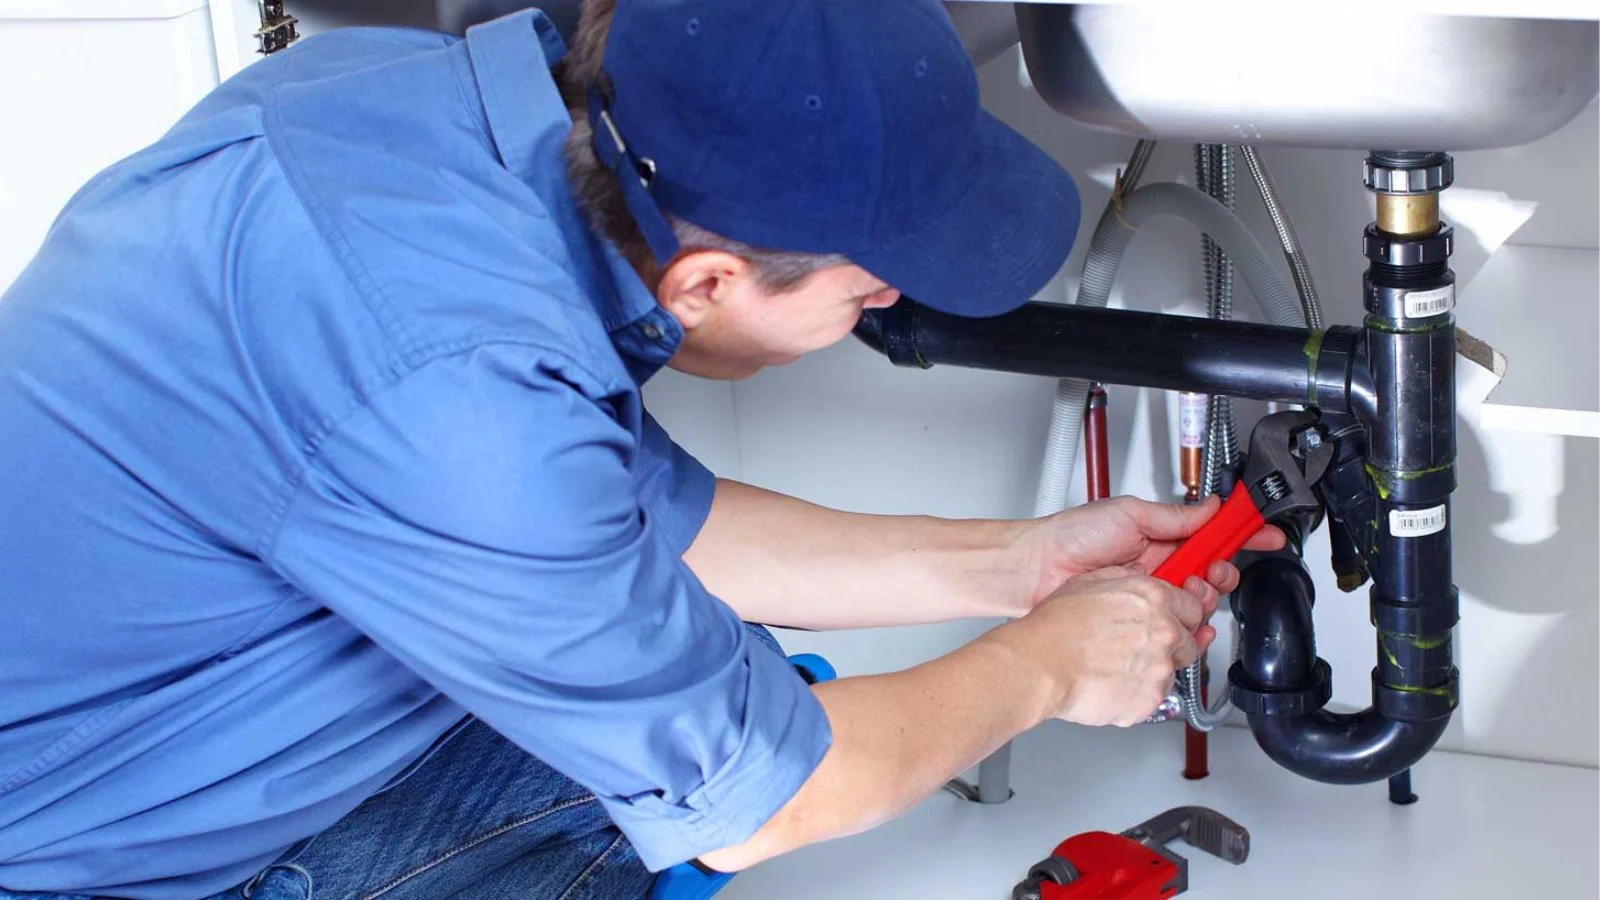
Attach the Discharge Tube to the Drain Line
Connect the discharge tube from the disposal to the sink’s drain line. Tighten connections firmly with screws or clamps. Use gaskets where needed to prevent leaks. Align pipes carefully to avoid strain. Test the pipe fit by running a small amount of water before finishing.
Make Electrical Connections Safely
If your unit requires wiring, connect it to the power supply. Match wires by color and secure with connectors. Ensure the ground wire is attached. Only do this if you are comfortable with electrical work. Secure wires with electrical tape for added safety. Never work with power on.
Run Water and Test the System
Turn the water back on and restore power. Run cold water and switch on the disposal. Check for leaks around all joints. Grind a few small scraps to confirm smooth operation. Listen for unusual noises, which may signal loose fittings. Run water for a minute to flush the system.
Quick Fixes if Something Goes Wrong
Leaks often come from loose connections. Tighten clamps or reapply putty where needed. Small leaks can usually be fixed without starting over.
If the unit hums but does not grind, it may be jammed. Switch off power and use the reset button or a wrench slot to free the blades.
Safety Reminders Before First Use
Never place your hands inside the disposal, even when off. Use a tool if something drops inside. This prevents injuries from sharp blades.
Always run cold water when the unit operates. Water helps move food scraps smoothly and prevents overheating. Avoid grinding bones, fibrous vegetables, or oils that can clog pipes.
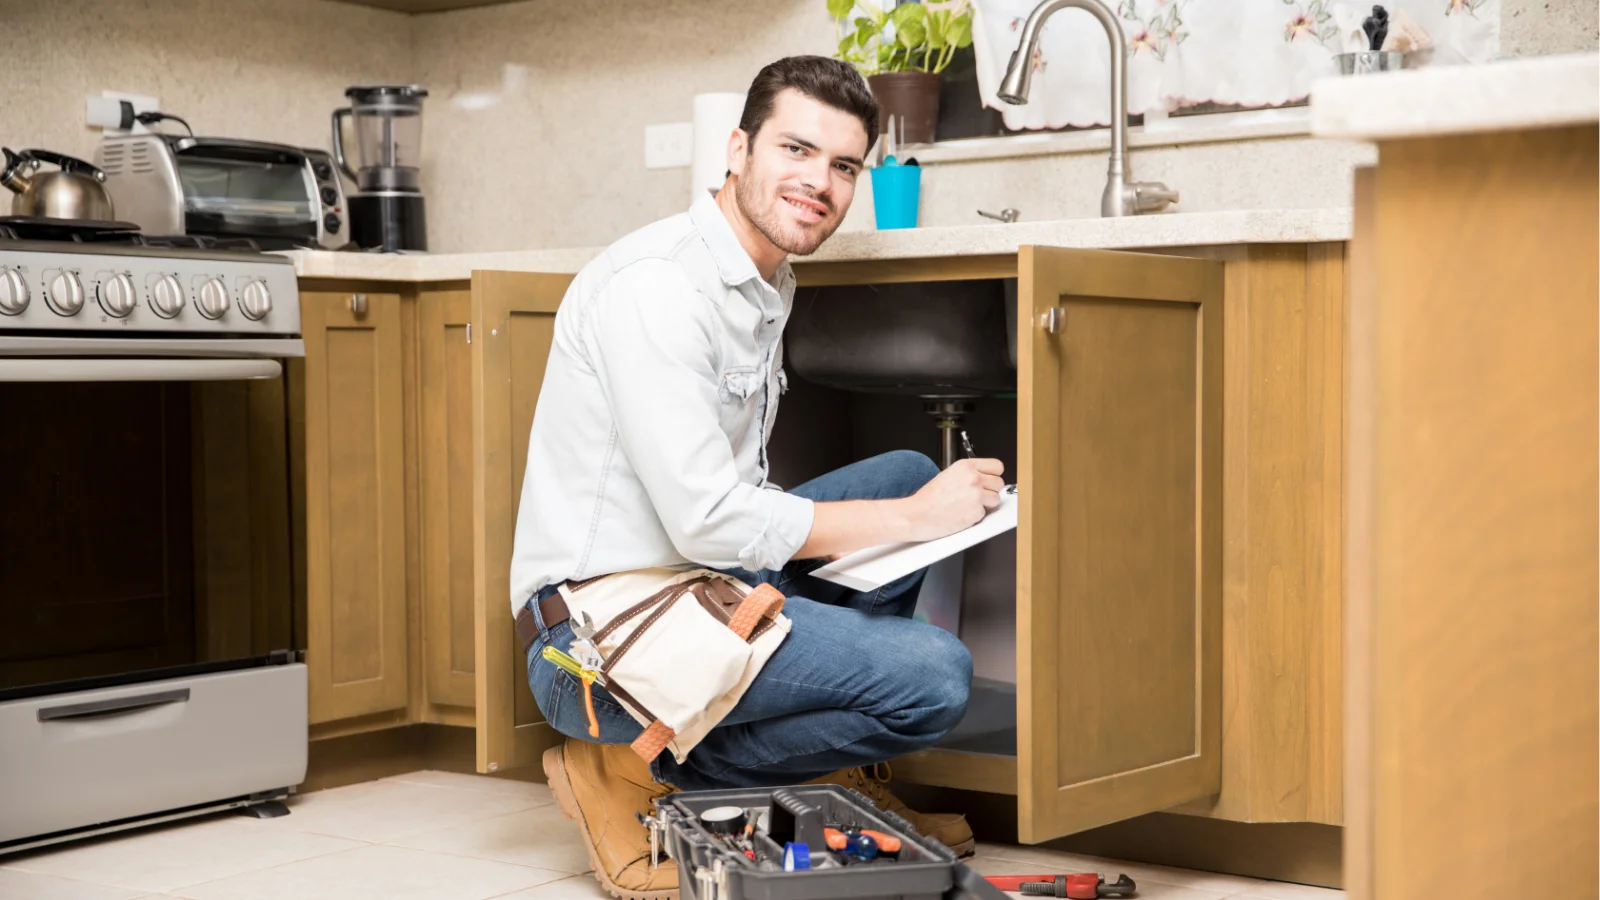
Professional Help vs DIY Work
Some installations are simple and safe for homeowners. Replacing an old unit with the same type often takes little time. Basic plumbing and mounting can be handled without expert help.
But if wiring is needed, or if your sink setup is old, call a professional. Experts handle complex jobs quickly and ensure the unit runs without leaks or hazards.
Call for Reliable Garbage Disposal Services
Installing a disposal makes kitchen life easier, but mistakes can cause leaks or electrical hazards. Professionals at Appliance Doctor Pro bring the right tools and experience for a safe job.
From replacing old units to wiring new ones, expert services save time and stress. Contact Appliance Doctor Pro today for trusted garbage disposal installation that keeps your kitchen running smoothly.
Conclusion
A garbage disposal keeps kitchens cleaner and drains flowing freely. Correct installation prevents leaks, clogs, and costly repairs. Simple steps, safe handling, and the right tools make the process manageable.
By learning how to install a garbage disposal, you gain convenience while protecting your home’s plumbing. Done right, it’s a lasting upgrade for your kitchen.
Frequently Asked Questions
Can I install a garbage disposal without plumbing skills?
Yes, if you follow clear steps and use the right tools. For wiring tasks, expert help is safer.
How long does installation usually take?
A basic replacement takes about one to two hours. New installations may take longer due to wiring and extra fittings.
Do all sinks support garbage disposals?
Most standard sinks do. But check the size, drain opening, and plumbing first. Some older sinks may need adjustments.
How do I keep it working longer?
Run cold water each time you use it. Clean regularly with mild soap. Avoid putting grease, bones, or large scraps inside.